W124 - Rust... No More and Hello Accurate Facelift Look
Executive Summary:
This entry is about the rust repair on the Rhino and also correcting the external trim to the correct facelift version for 1994 onwards made W124s.
Details:
When I bought the car, I was a W124 newbie and wasn't aware of where the rust spots are and what I should I be checking for. I tried doing my due diligence by checking on the real condition with the person who sold me the car based in Kampung Melayu Subang, K*****T Auto, but as shared in my previous post, don't expect a conman to be honest (by the way, stay away from dealing with this guy, stay very far away!). I was told it was in good condition and there are no rust issues and the body is in very good condition bla bla bla... a bunch of bullshit!
I have requested an inspection of the body condition which was fair. There were rust and the rust was observed to be on the front passenger footwell, both sides of the rear spare wheel wells, a little on the rear left quarter panel, and the battery tray among the few that were observed.
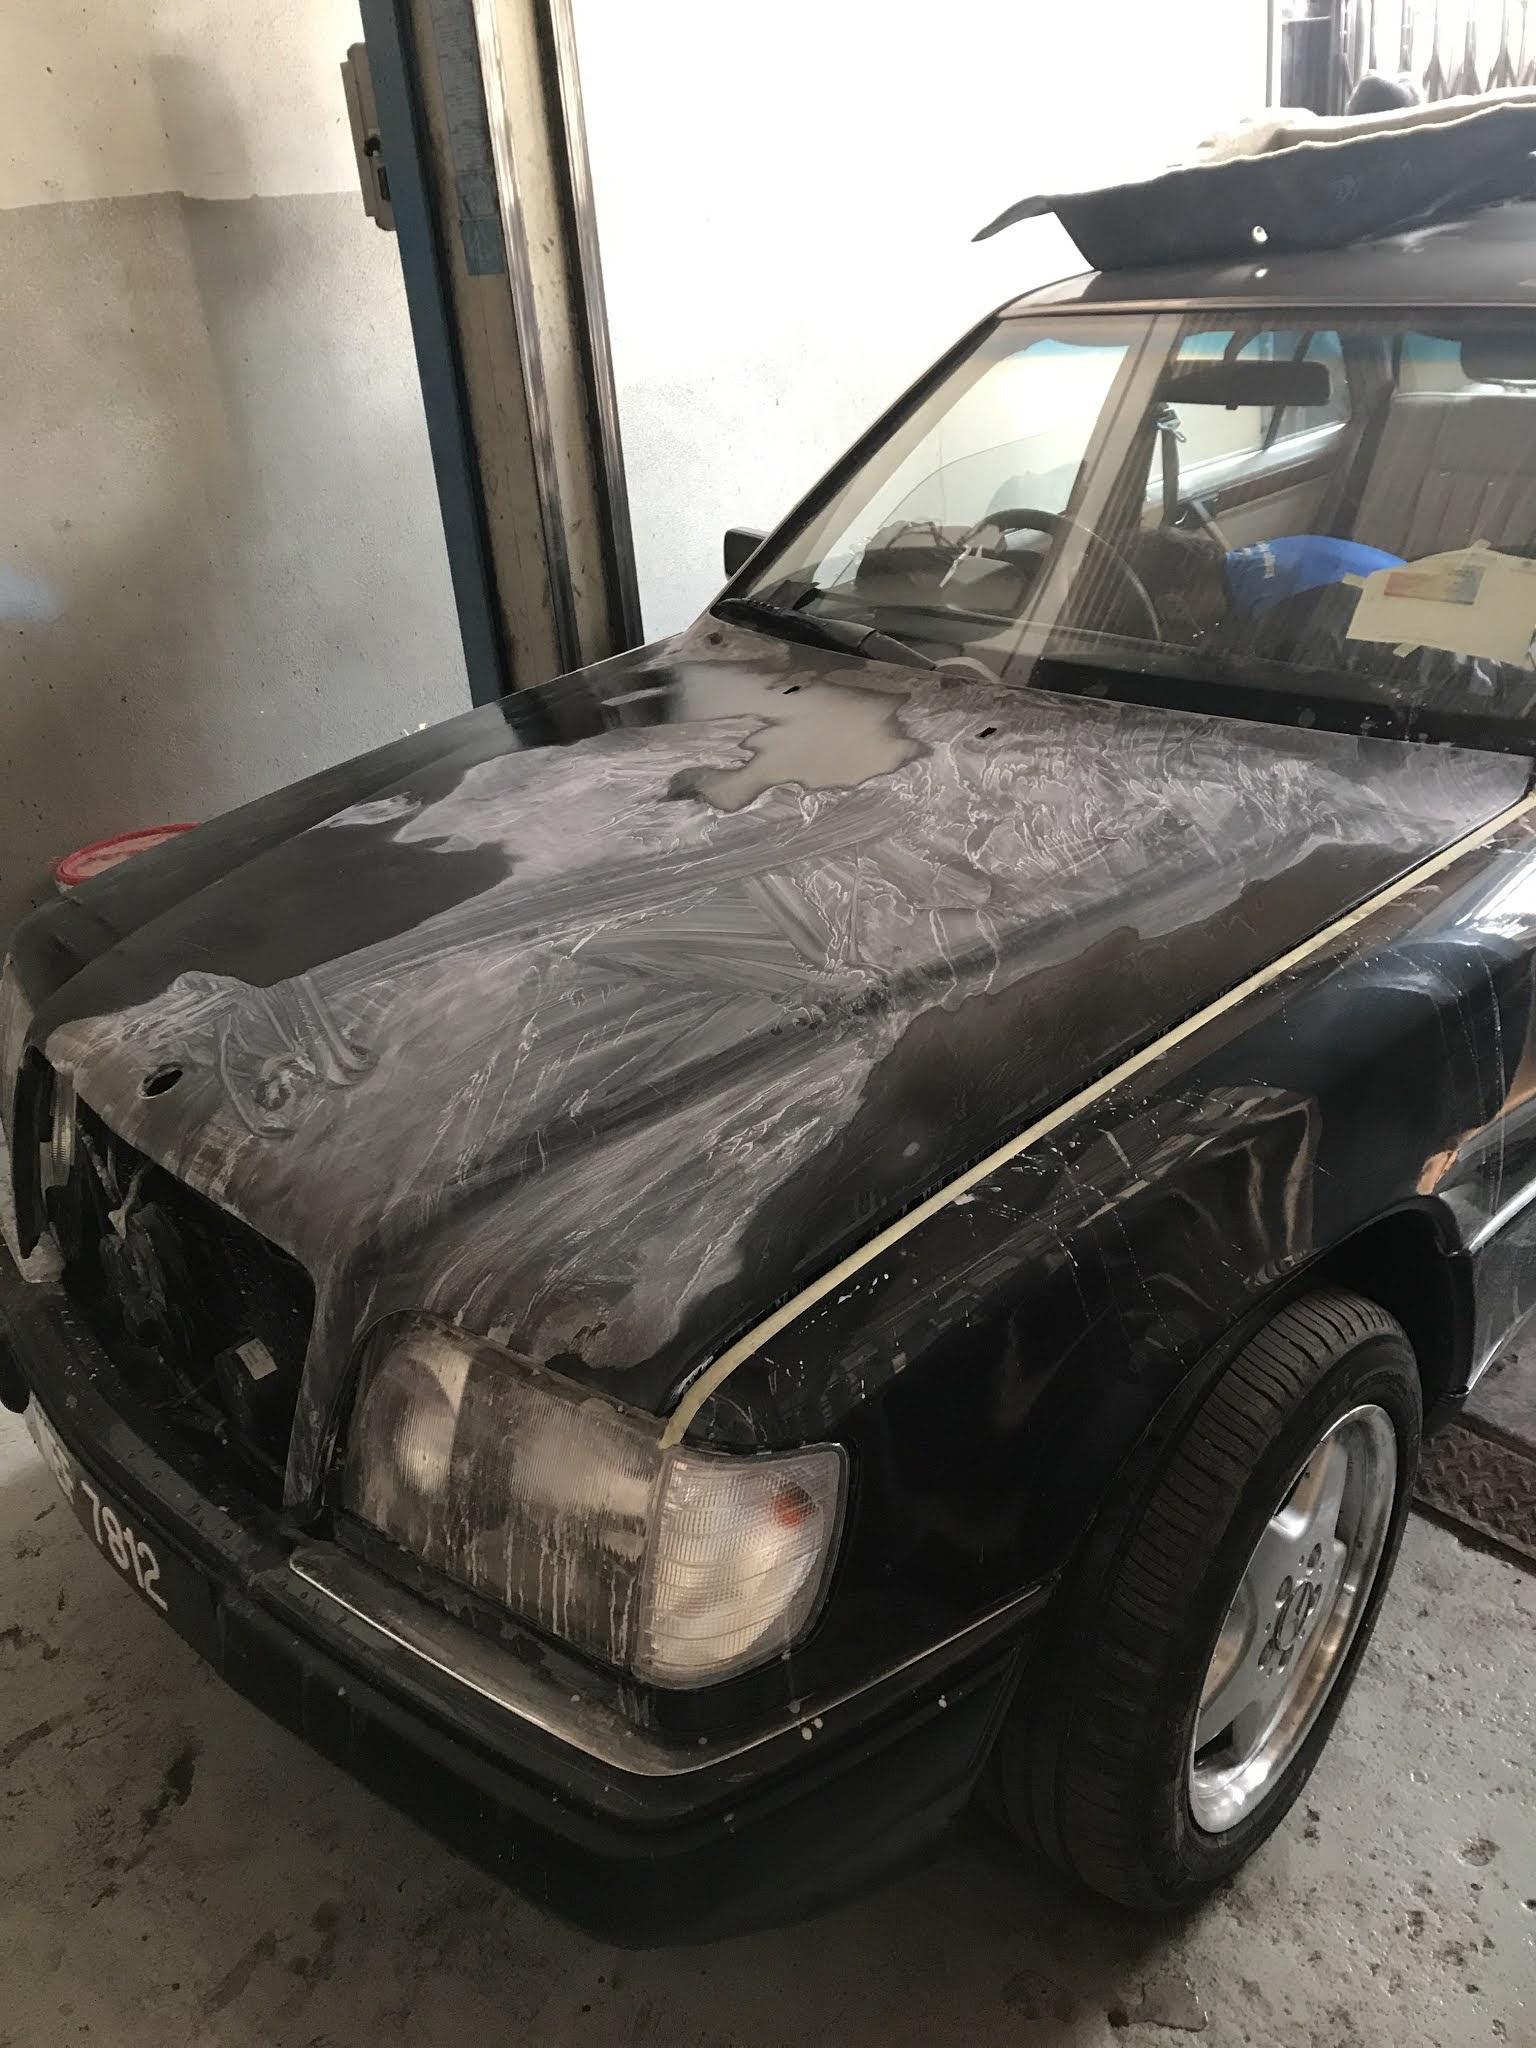
On Saturday, 7th November, I made an appointment to have the bodywork started. In a nutshell, the front hood, rear boot, and rear bumper are not correct on this car as they are the pre-facelift version, so this car has got a confused identity where the front bumper and headlamps are of the correct facelift version, the hood is of the pre-facelift ones, which makes the fitting to be very poor. In the rear, the boot lid and bumper are of the pre-facelift version while the lights are of the facelift version. I want to fix this mismatch and correct the identity of this car to the facelift version look.
I sourced for the front hood, rear trunk lid, and rear bumper for the facelift version.
I am taking the opportunity to correct the look of Rhino while working on the rust. While the body works person is installing the replacement parts, they can ensure that the fitting is proper. I also took the opportunity to remove the rear right-hand side tail antenna which I believe was for the car phone.
At this moment, I needed to source for a few items that I have secured, which are the rear trunk wheel well rubber grommets, boot lid slam buffer rubbers, and license plate lamps.
Tuesday, 10th Nov, there were more updates being shared, the rear spare wheel pockets on both sides have been worked on, the new metal plates were welded in replacing the old rotten panels. The right-hand side phone antenna has been removed and its mount sealed.
Near the accelerator, 2 small holes were observed and they have been sealed. On the front passenger footwell, the area has been cleaned and corrosion has been removed, what is left is for it to be treated.
The front radiator panel had a tear on it, we were initially thinking of finding a donor radiator panel and having it welded it but the welder said there was no need for that as the overall panel is in good condition and they can salvage it. So the work that needs to be done is for the panel to be rewelded, sanded down, and then with some Bondo, have it repainted and that will take care of it.
Wednesday, 11th Nov, I have some updates on the progress of the car. To begin with, all welding work was completed, the guys there took 2 days to complete the work. Following on from there, I was shared with a picture of a hill of dirt and gunk that came off the left-hand side drainage channel that runs from the front left bottom of the windscreen, all the way down behind the left wheel arch. What shocked me was that a hose clamp was stuck in it and eventually extracted out.
The work also completed the undercarriage seal to replace the worn-out and aged one that the car has come with. It definitely gives it a fresher look now.
In the interior floorboard, all cables will be wrapped, and sanding of the floorboard followed by priming it to retard / slow down rust from happening again. I will also be replacing the front and rear star emblem as well.
Thursday, 12th Nov, had a quick look at the car, a spare center console to replace the current one which is broken was sent in. Also got to see the body prep work that was being done. The bonnet and trunk lid has been sanded down, surface prep work is being done on the bonnet. A small rust spot was seen at the left taillight panel which will be treated together.
I was updated that the floorboard and tar-strips on the rear are pristine. I was advised to use the undercarriage sealant on the inside as well, which will better preserve the originality.
The chrome piece on the replacement trunk lid is not its best, so a replacement one from a donor car was sourced. Along with that, the tail lamp was also sourced for replacement.
Monday, 16 Nov, More work is done on Rhino, to begin with, the wrapped cables that were channel on the floorboard. From his previous recommendation, he did not want to remove all the original factory-fitted tar strips that will reduce the originality as well as affecting the soundproofing. He went on to use the undercarriage sealant to protect the floorboard giving it a more uniform look. The replacement panels were prepped for paint, the bonnet, boot lid.
Monday, 23 Nov, Rhino is now complete with the replacement panels color matched. The three-pointed star logo emblem has been replaced, so was the rear emblem as well. The interior has been properly fitted back with some of the broken parts replaced. It is ready to hit the roads again. This will complete the exterior work to correct the outer look to a facelift version.
Hot Tips:
- Check for rust before buying a W124, rust should be checked at the front floor pan, below the carpet, rear spare wheel area, side pockets to the sides of the spare wheel, battery tray and underneath it, and front windscreen water channels
- Check for electrical issues, look for signs of old harness, for post 92 cars, a good harness will have the Delphi label
- Look for signs of burned wires
- Look for signs of disintegrated insulations
- Look for signs of abnormal wiring
- Check ECU bay for additional relays or relays that do not look original or burned
- Check all buttons if they work
- Do a VIN extraction
- Never trust the odometer, it can be easily manipulated
Pictures:


Corrected identity rear end


Comments
Post a Comment